

You will need to begin with a piece of black cardstock that is 5 1/4 x 10 inches. Score this cardstock at 2.5 and 5 inches.

Mark the sides of the unscored square at 2.5 and then the center top. Cut off the corners as shown below.

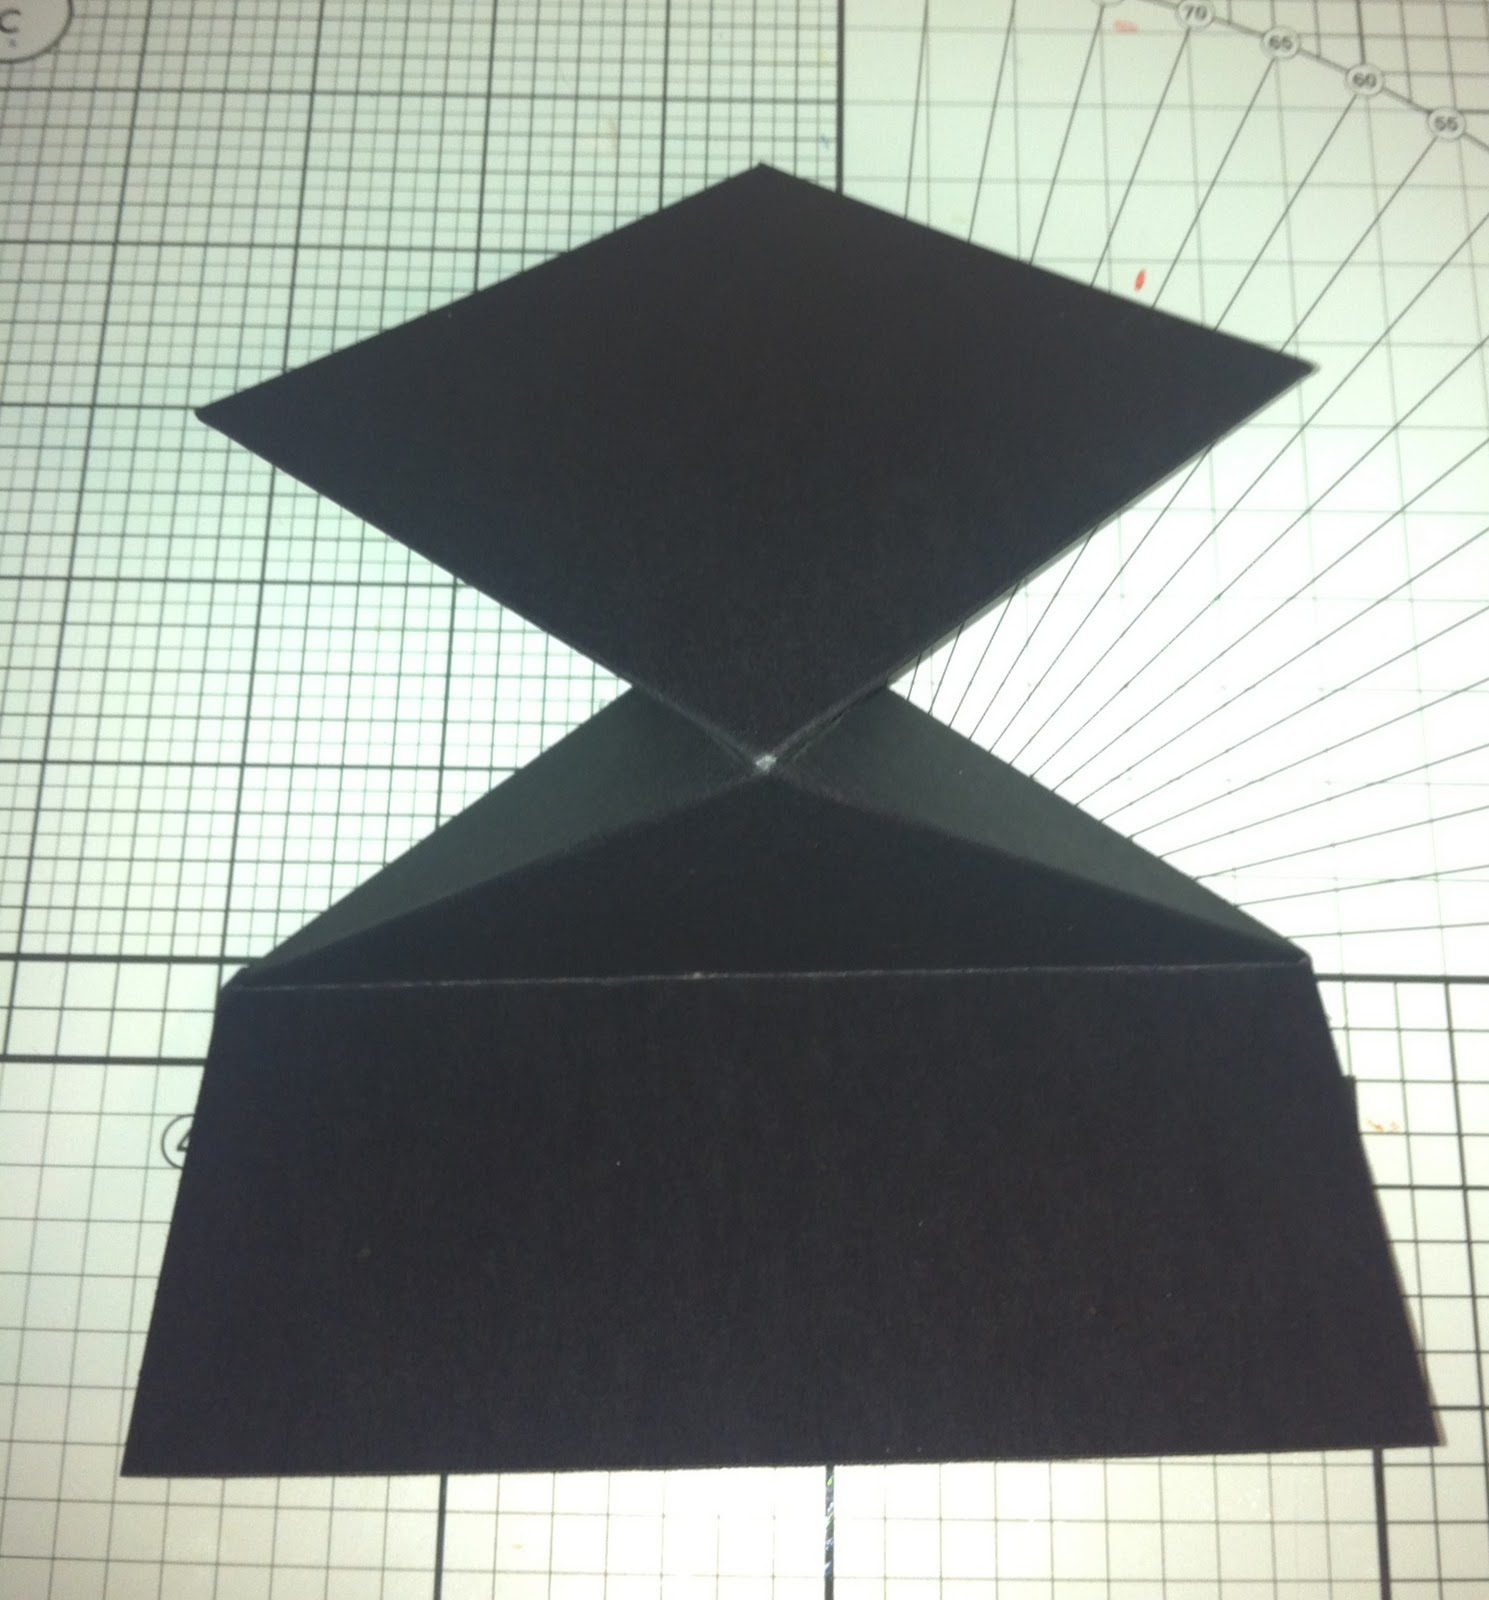
Score the cardstock with an X from the corners to the 1st score line (at 2.5). See below:

Make so that the triangles fold in and the square top of the cap is showing.
In order to make the pop up, you will need to put binding tape on the bottom triangle area as shown below. This will cause the "cap" to stay popped up.

Cut a piece of DSP the size of 3.25 x 3.25 inches. Adhere this to the top of the graduation cap.

I generally use a decorative punch on the corners of the paper. I then put a flower in the center along with the tassel.

On the back side, you will place a piece of white paper, 3 x 1.5 inches, stamped with the Congratulations stamp from the Stamping Scrapping Celebration Stamp Set.


This will complete the Graduation Cap card. I hope that you will try making one for yourself!

Happy Sunday!
Hugs, Meg


This is sooo Fantastic Meg.. Thanks for the tutorial..Loz
ReplyDelete